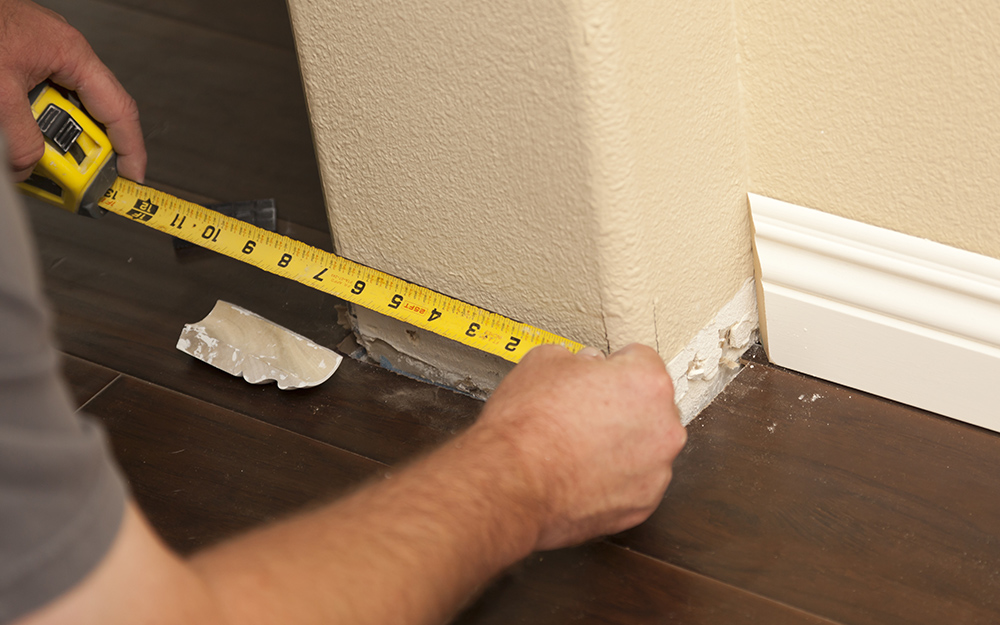
A corner sander can be a great choice if you want to give drywall corners a smooth edge. These sanders are designed to sand the inside of the corners of ceilings, walls, and converging walls. They're also good for priming drywall before painting.
The drywall corner sanders have a cylindrical sanding heads that can be moved in many directions. This allows you to sand corners from the inside without having your arm, shoulder, back or neck twist. This sanding head measures 9 inches in diameter. It is ideal for grinding and sanding the drywall as well as clearing any floor residue.
Corner sanders work well for sanding two corners at once. This is possible because the sander has two pivot axes. One axis is in the sanding box, the other is outside.
The center seam is the best place to sand the inside of a corner of drywall using a sander. However, this can leave grooves or depressions on the drywall. Sand at least one corner to avoid this.
A drywall corner sander with improved features has an extended body and a pair spaced apart braces. The braces are mounted on an axe that extends between each brace. An axle tab connects to the handle.
The handle also contains a pivot pin. This pin is part the second pivot axis. An additional tab extends from the inside corner of the axle.
A universally pivoting handle is another characteristic of the improved drywall corner grinder. This design provides for a larger storage space and a more comfortable grip.
Additionally, the sander has an ergonomic design. It has a soft comfort grip for sanding and interchangeable sponges that can be used to sand different areas. It can even be reconfigured with a pole to sand at 90-degree corners.
The new drywall corner-sander is extremely easy to use. The sanding head consists of a cylindrical that can be moved up and down along a drywall corner. The sander can reduce the forces applied to the side wall because it has two pivot points.
A sanding pad is also attached to the sanding cavity. The pad can be connected to the outer faces of the side walls by any convenient means. Sanding is made easier by the flexible design of the pad, which allows it to be used to sand on the outside of its sanding cavity.
Or, joint compound can be used to fill in the sanding area. Joint compound can be used to fill in deep grooves or repair uneven surfaces. Joint compound can be used on a sander because it is easy-to-rinse and has abrasive on all four sides.
Drywall sanding involves a complex job. Protective gear is required to keep dust from your eyes and hair. You also need to ensure that you only use light pressure while sanding drywall.
FAQ
Can I rent a dumpster?
A dumpster can be rented to dispose of your debris after you have completed your home renovation. Renting a dumpster to dispose of your trash is a great option.
How often should my furnace filter be changed?
This depends on how often your family will use their home heating system. You might consider changing your filter less frequently if you are likely to be away from your home for extended periods during the cold months. However, if you rarely go out of the house, you may be able to wait longer between changes.
A furnace filter typically lasts for three months. You should replace your furnace filters every three months.
You can also check the manufacturer's recommendations for when to change your filter. Manufacturers recommend changing your filter after each heating season. Other manufacturers suggest waiting until visible dirt builds up.
How do you make a house look new?
When renovating a home without spending money, the following steps should be followed:
-
Create a budget plan
-
Learn what materials are needed
-
Decide where you want them to go
-
You will need to make a list of the things that you must buy.
-
Calculate how much money is available
-
Plan your renovation project
-
Get started on your plans
-
Do some research online
-
Ask friends and family for help
-
Get creative!
Do I need an architect/builder?
You may find it easier to hire someone else to complete your renovations if you own the home. But if your goal is to buy a house, hiring an architect/builder will ensure that you get the home you desire.
In what order should home renovations be done?
The first thing you need to do when renovating your home is to decide where you want to put everything. If you plan to sell your home soon, then you should think about how you would like to present your home to potential buyers. The design of your living room, bathroom, and kitchen should be the first thing you think about. After you have selected the rooms you wish to renovate you can begin searching for contractors who specialize. Finally, once you have hired a contractor, you should begin working on your renovation project.
Statistics
- Design-builders may ask for a down payment of up to 25% or 33% of the job cost, says the NARI. (kiplinger.com)
- ‘The potential added value of a loft conversion, which could create an extra bedroom and ensuite, could be as much as 20 per cent and 15 per cent for a garage conversion.' (realhomes.com)
- It is advisable, however, to have a contingency of 10–20 per cent to allow for the unexpected expenses that can arise when renovating older homes. (realhomes.com)
- The average fixed rate for a home-equity loan was recently 5.27%, and the average variable rate for a HELOC was 5.49%, according to Bankrate.com. (kiplinger.com)
- They'll usually lend up to 90% of your home's "as-completed" value, but no more than $424,100 in most locales or $636,150 in high-cost areas. (kiplinger.com)
External Links
How To
Do you renovate interior or exterior first?
Which one should I do first?
There are many factors that you should consider when choosing the right project. The most important thing to consider when deciding which project to start is whether the structure is old or new. If the building is old, then there are many things to take into consideration such as the condition of the roof, windows, doors, flooring, electrical system, etc. When the building is new, there are many things to consider such as its location, size, number, style, and so forth.
If your building is very old, you should first look at its roof. If it looks like the roof could collapse any minute now, you may want to start on the renovation. If the roof is fine, then you can move onto the next step. Next, check out the windows. If the windows are dirty or broken, you may need them to be replaced. Next, clean the doors and ensure that they are free of debris. Next, check that everything seems to be in order before you begin work on the floors. Make sure that the flooring is solid and sturdy so that no matter how hard you walk on it, nothing breaks. Now you can start to add the walls. Take a look at the walls to see if any cracks or damage are present. If the wall appears to be in good shape, you can continue to the next steps. After the walls have been inspected, it is time to inspect the ceiling. Make sure the ceiling is sturdy enough to withstand whatever weight you place on it. If all is well, then you are ready to move on to the next phase of your renovation.
You would want to begin with the exterior if the building was recently built. The exterior of the home should be examined first. Is it clean? Is it free from cracks? Does it look good overall? If it doesn't look good, you need to fix it. You don't want to let your home look bad. Next, check the foundation. The foundation should be inspected for weakness and repaired. You should also inspect the driveway. You want it to be smooth and flat. It should be smooth and flat. If it isn’t, you need to fix it. When checking the driveway, also check the sidewalk. If it's not level, you might need to replace it.
Once you have completed these inspections, you can now move on inside the house. Begin by inspecting the kitchen. Is it well maintained and clean? You should clean up any mess. Next, inspect the appliances. You want them to be in good order and working correctly. If they're not, you can either replace them or repair them. Next, inspect the cabinets. You should paint them if they are damaged or stained. If they are in great condition, then you can go to the bathroom. Here, check the toilet. You should replace it if it leaks. If it's just dirty, then you should probably wash it. Next, take a look at all of the fixtures. Make sure that they are clean. You should clean them if they are stained. Lastly, check the countertops. If the countertops are cracked or chipped, you might want to repaint them. If they are smooth and shiny you can use a sealant.
Final step: Check your furniture. Check that nothing is damaged or missing. If you find something missing, it's best to fix it. You should fix anything broken. After everything has been checked, you can go outside to finish the job.